Woodworking and Furniture Making School
Philadelphia Furniture Workshop is a woodworking school offering courses to all levels of woodworkers, from the beginner to serious amateur. PFW offers classes that are project based, classes that focus on narrower fields such as individual tools or particular techniques, and courses that are specially designed to get the new woodworker up to speed in a safe, deliberate, and organized fashion. We also offer design and build classes and master classes for the aspiring cabinetmaker or furniture maker whose aim is to work at a high-level of skill and create work that reflects personal expression. Classes are small and are taught by highly skilled furniture makers with experience teaching a wide range of woodworking skills and techniques.
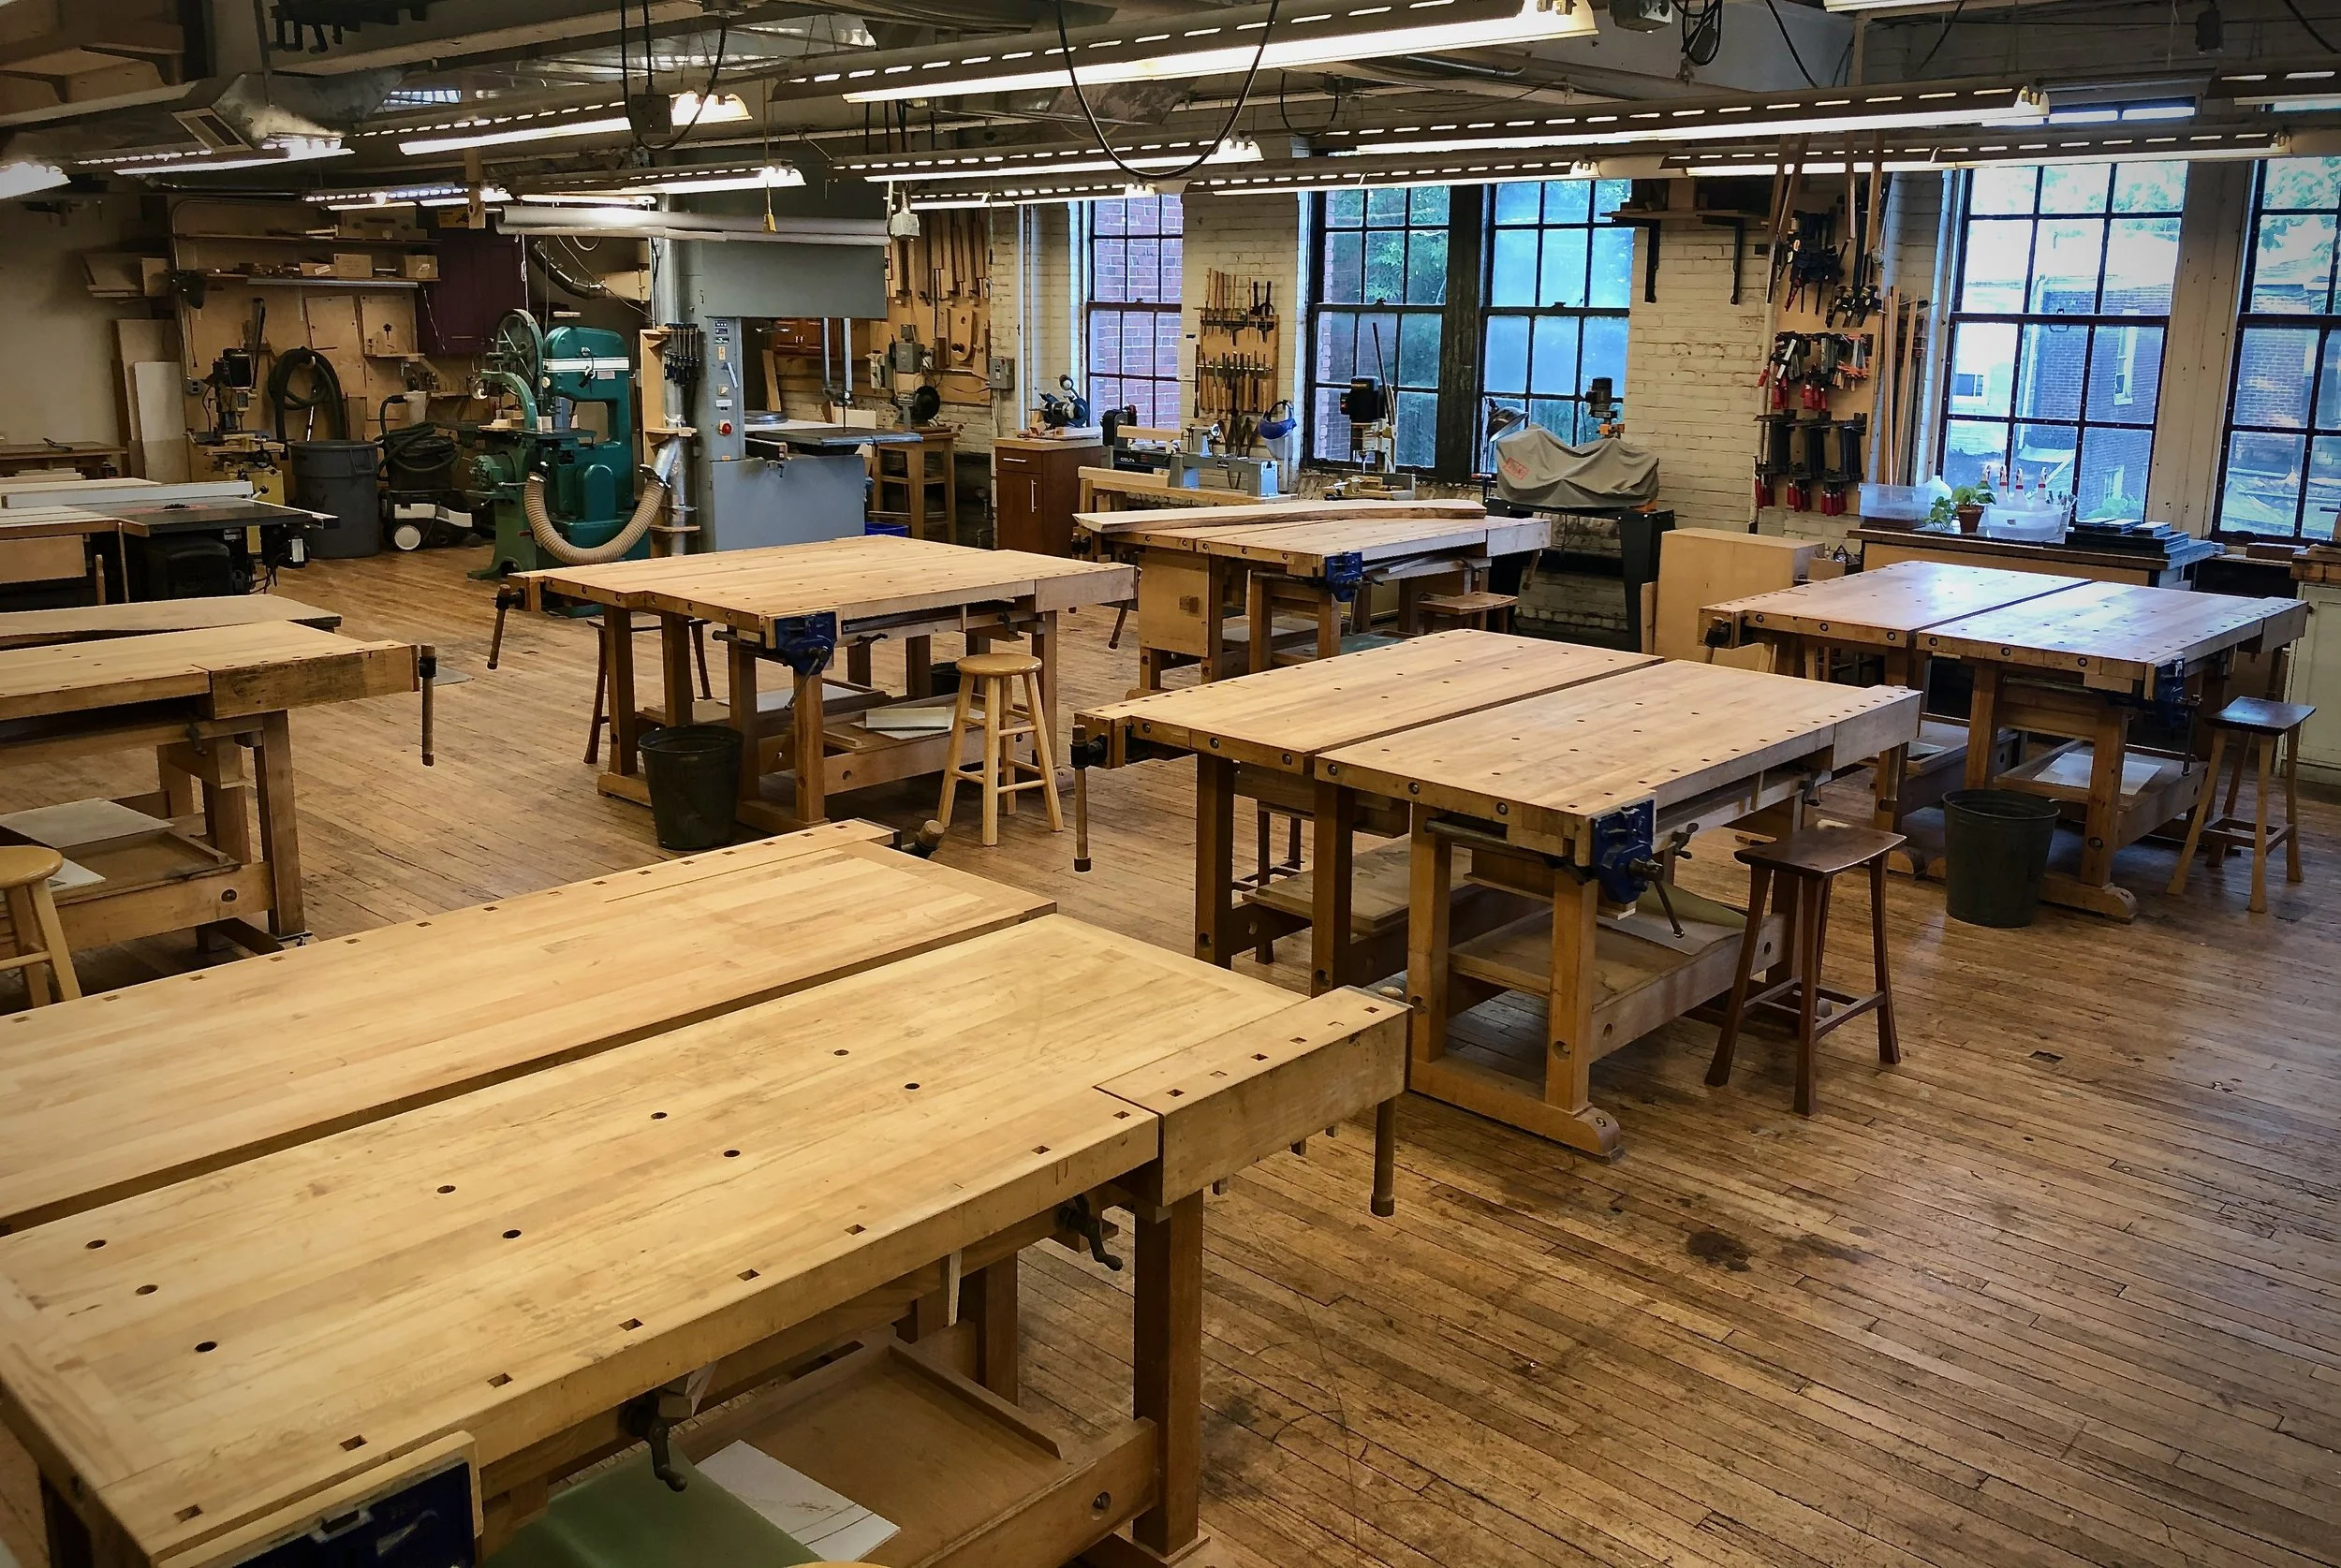
If you are a new woodworker, the Beginner Courses, Basic Skills Courses and Learning Series are good places to start. If you have some experience or just want to make a specific project, try our Projects Course listings. If you want to brush up on a skill or learn a new one, then click on the Tools and Techniques tab. We hope to see you soon! Continue scrolling to see some images from the shop.
Instructor - Craig Stevens
September 12 - 13, 2026 9am - 4pm (1 weekend)
The Okamochi-style Tea Box is designed by PFW’s Mami Stevens to hold tea bags and serve a selection of tea to guests, the project provides a satisfying challenge for beginners as well as those with some woodworking experience.
Okamochi describes the wooden-handle style box which was traditionally used to deliver food in Japan. The project features splined mitered corner joinery, half-lap joined dividers, and a carrying handle joined to uprights using bridle joints.
The box is made of black walnut and red oak, and measures approximately 10” x 7”. Mitered corners with let-in “keys” add strength and subtly decorate the joint. The techniques used to make the project help assure a high level of craftsmanship and can easily be applied to future woodworking projects. This class is appropriate for all skill levels.
Cost includes all materials. Students provide their own lunch.
Click here for the Tool List
Build a Ladderback Chair
Instructor: Craig Stevens
October 26 - December 14, 2026 6pm - 9pm (8 Monday evenings)
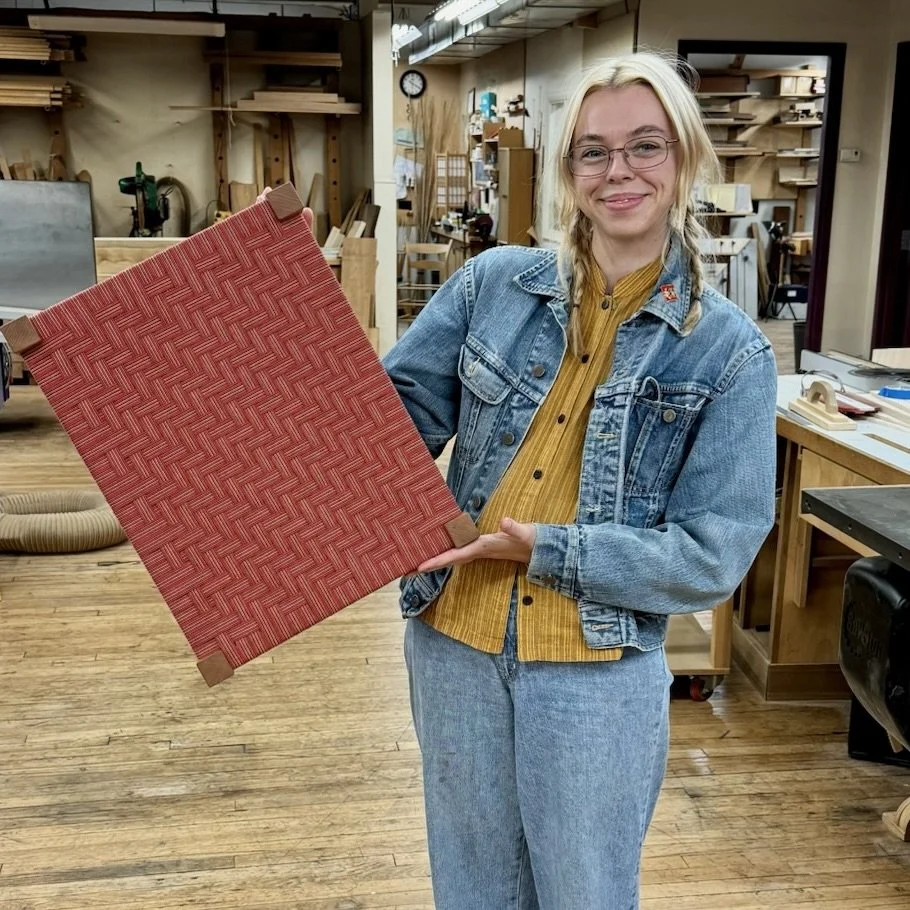
The ladderback chair is a style of chair whose basic design has been popular for many generations. Using both machines and hand tools, students in our ladderback chair class will learn essential chair building skills, including layout strategies, angled mortise and tenon joinery, pattern routing, and working with curves. They also learn how to determine pleasing grain patterns when cutting curves and weave a comfortable seat using Shaker cotton tape.
Craig designed our ladderback chair many years ago as a commissioned set and has made a number of them since. It’s a highly satisfying project that serves as an excellent introduction to chairmaking. Students will gain valuable skills in the class that can easily be applied to future chair-making projects. Each student will make their own ladderback chair.
Students will also learn how to weave a Shaker tape seat. Students will apply an oil finish at home to ensure their chairs are dry for the weaving session on the last evening. Instruction for applying the finish as well recommended brands to use will be given. Students may choose the shaker tape color for their chairs, which is included in the class fee.
Cost includes all materials, shaker cotton tape and weaving supplies for the seats.
Click here for the recommended Tool List
Instructors - Craig Stevens and Greg Horton
to be scheduled again
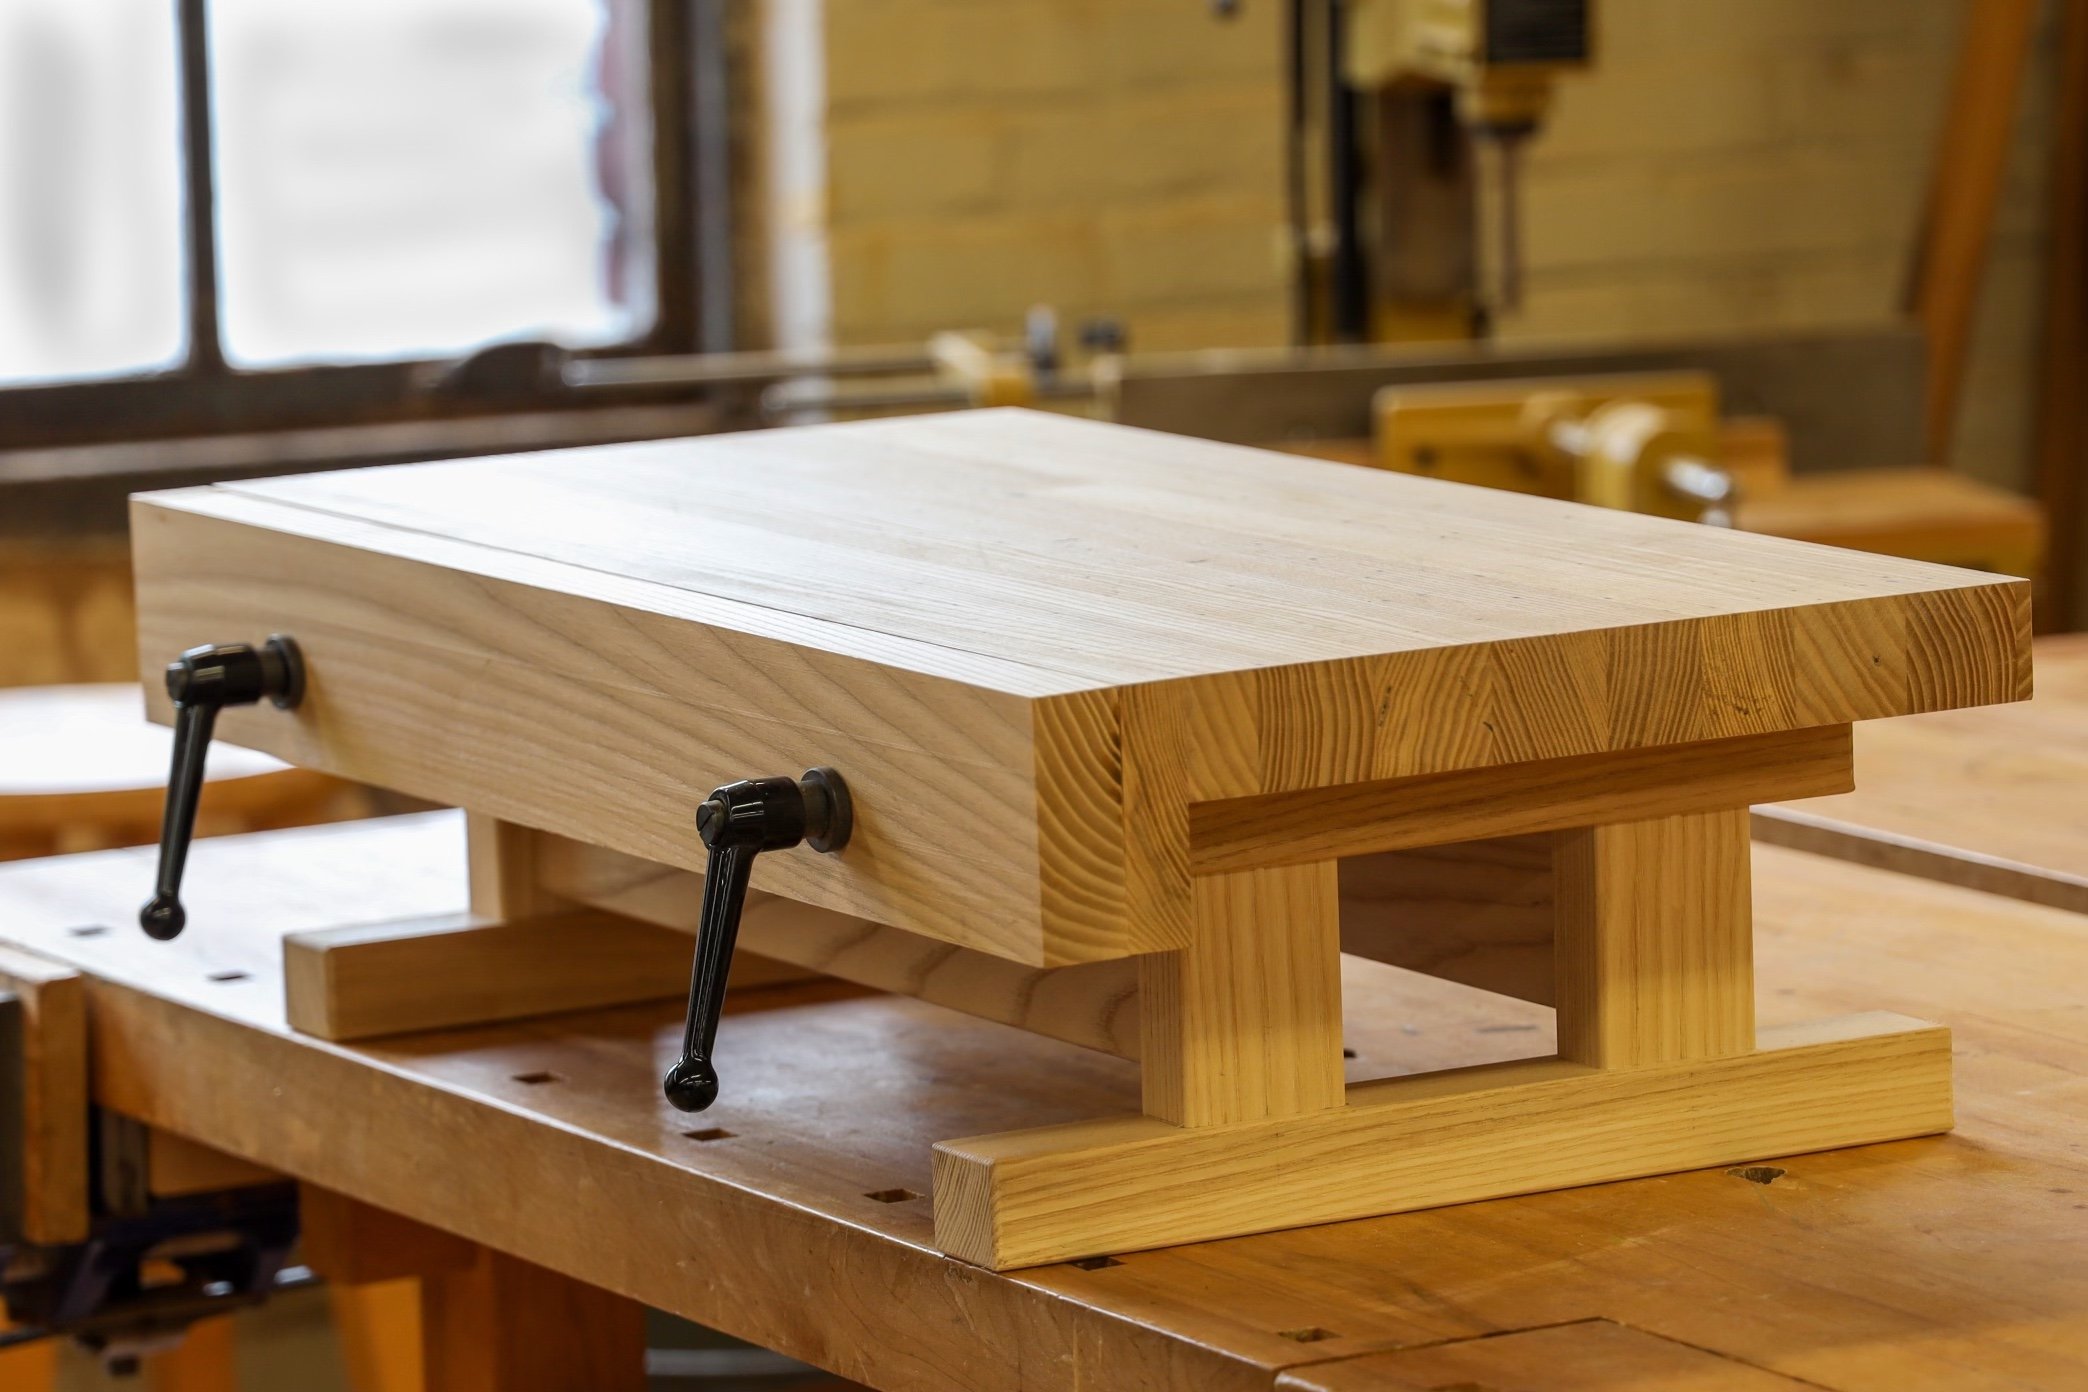
Many woodworkers live in an apartment or don’t have a dedicated workspace. Others work at a traditional-style workbench, which is a great height for hand-planing and sanding but may be uncomfortably low for other work. Whether working in a full-blown woodshop or in the living room, woodworkers need an excellent way to hold our work securely while we work on our projects. A small, portable workbench can save the day and prevent sore backs by elevating the work to a more comfortable height or turning a dining table or countertop into a workspace.
Our Bench on Bench is made of ash, maple or red oak, providing a very sturdy work surface for just about any woodworking activity. The Bench on Bench measures approximately 28” long, 14” wide including the vise, and is 8-10” tall. The movable front vise adds a tremendous amount of versatility to the bench, making it easy to clamp work to the front or on the top surface. We’re using Moxon vise hardware for the vise that adjusts easily and holds the work very securely while allowing for quick adjustments. The Bench on Bench is particularly useful for cutting dovetail joinery, edge-planing shorter boards, and clamping work to the top surface for drilling, routing, sanding, and similar work. It positions the workpiece at a height that is easy to see and allows for a very natural, relaxed position for sawing and chopping with chisels.
Optional 3/4” holes in the top and vise jaw allows workpieces to be held in a variety of ways, whether with bench dogs facing each other or with aftermarket holding devices as shown. Lee Valley/Veritas Tools has a wide range of hold-down devices and accessories that fit the 3/4” holes (not included). We’re hard pressed to have a situation where a workpiece can’t be securely held in place. It’s portability allows it to be kept under a full-size workbench, stored on a shelf, or stashed in a closet.
Cost includes all materials for the Bench on Bench (not including Veritas hold-down accessories).
Click here for the Tool List
Instructor: Craig Stevens
to be scheduled again
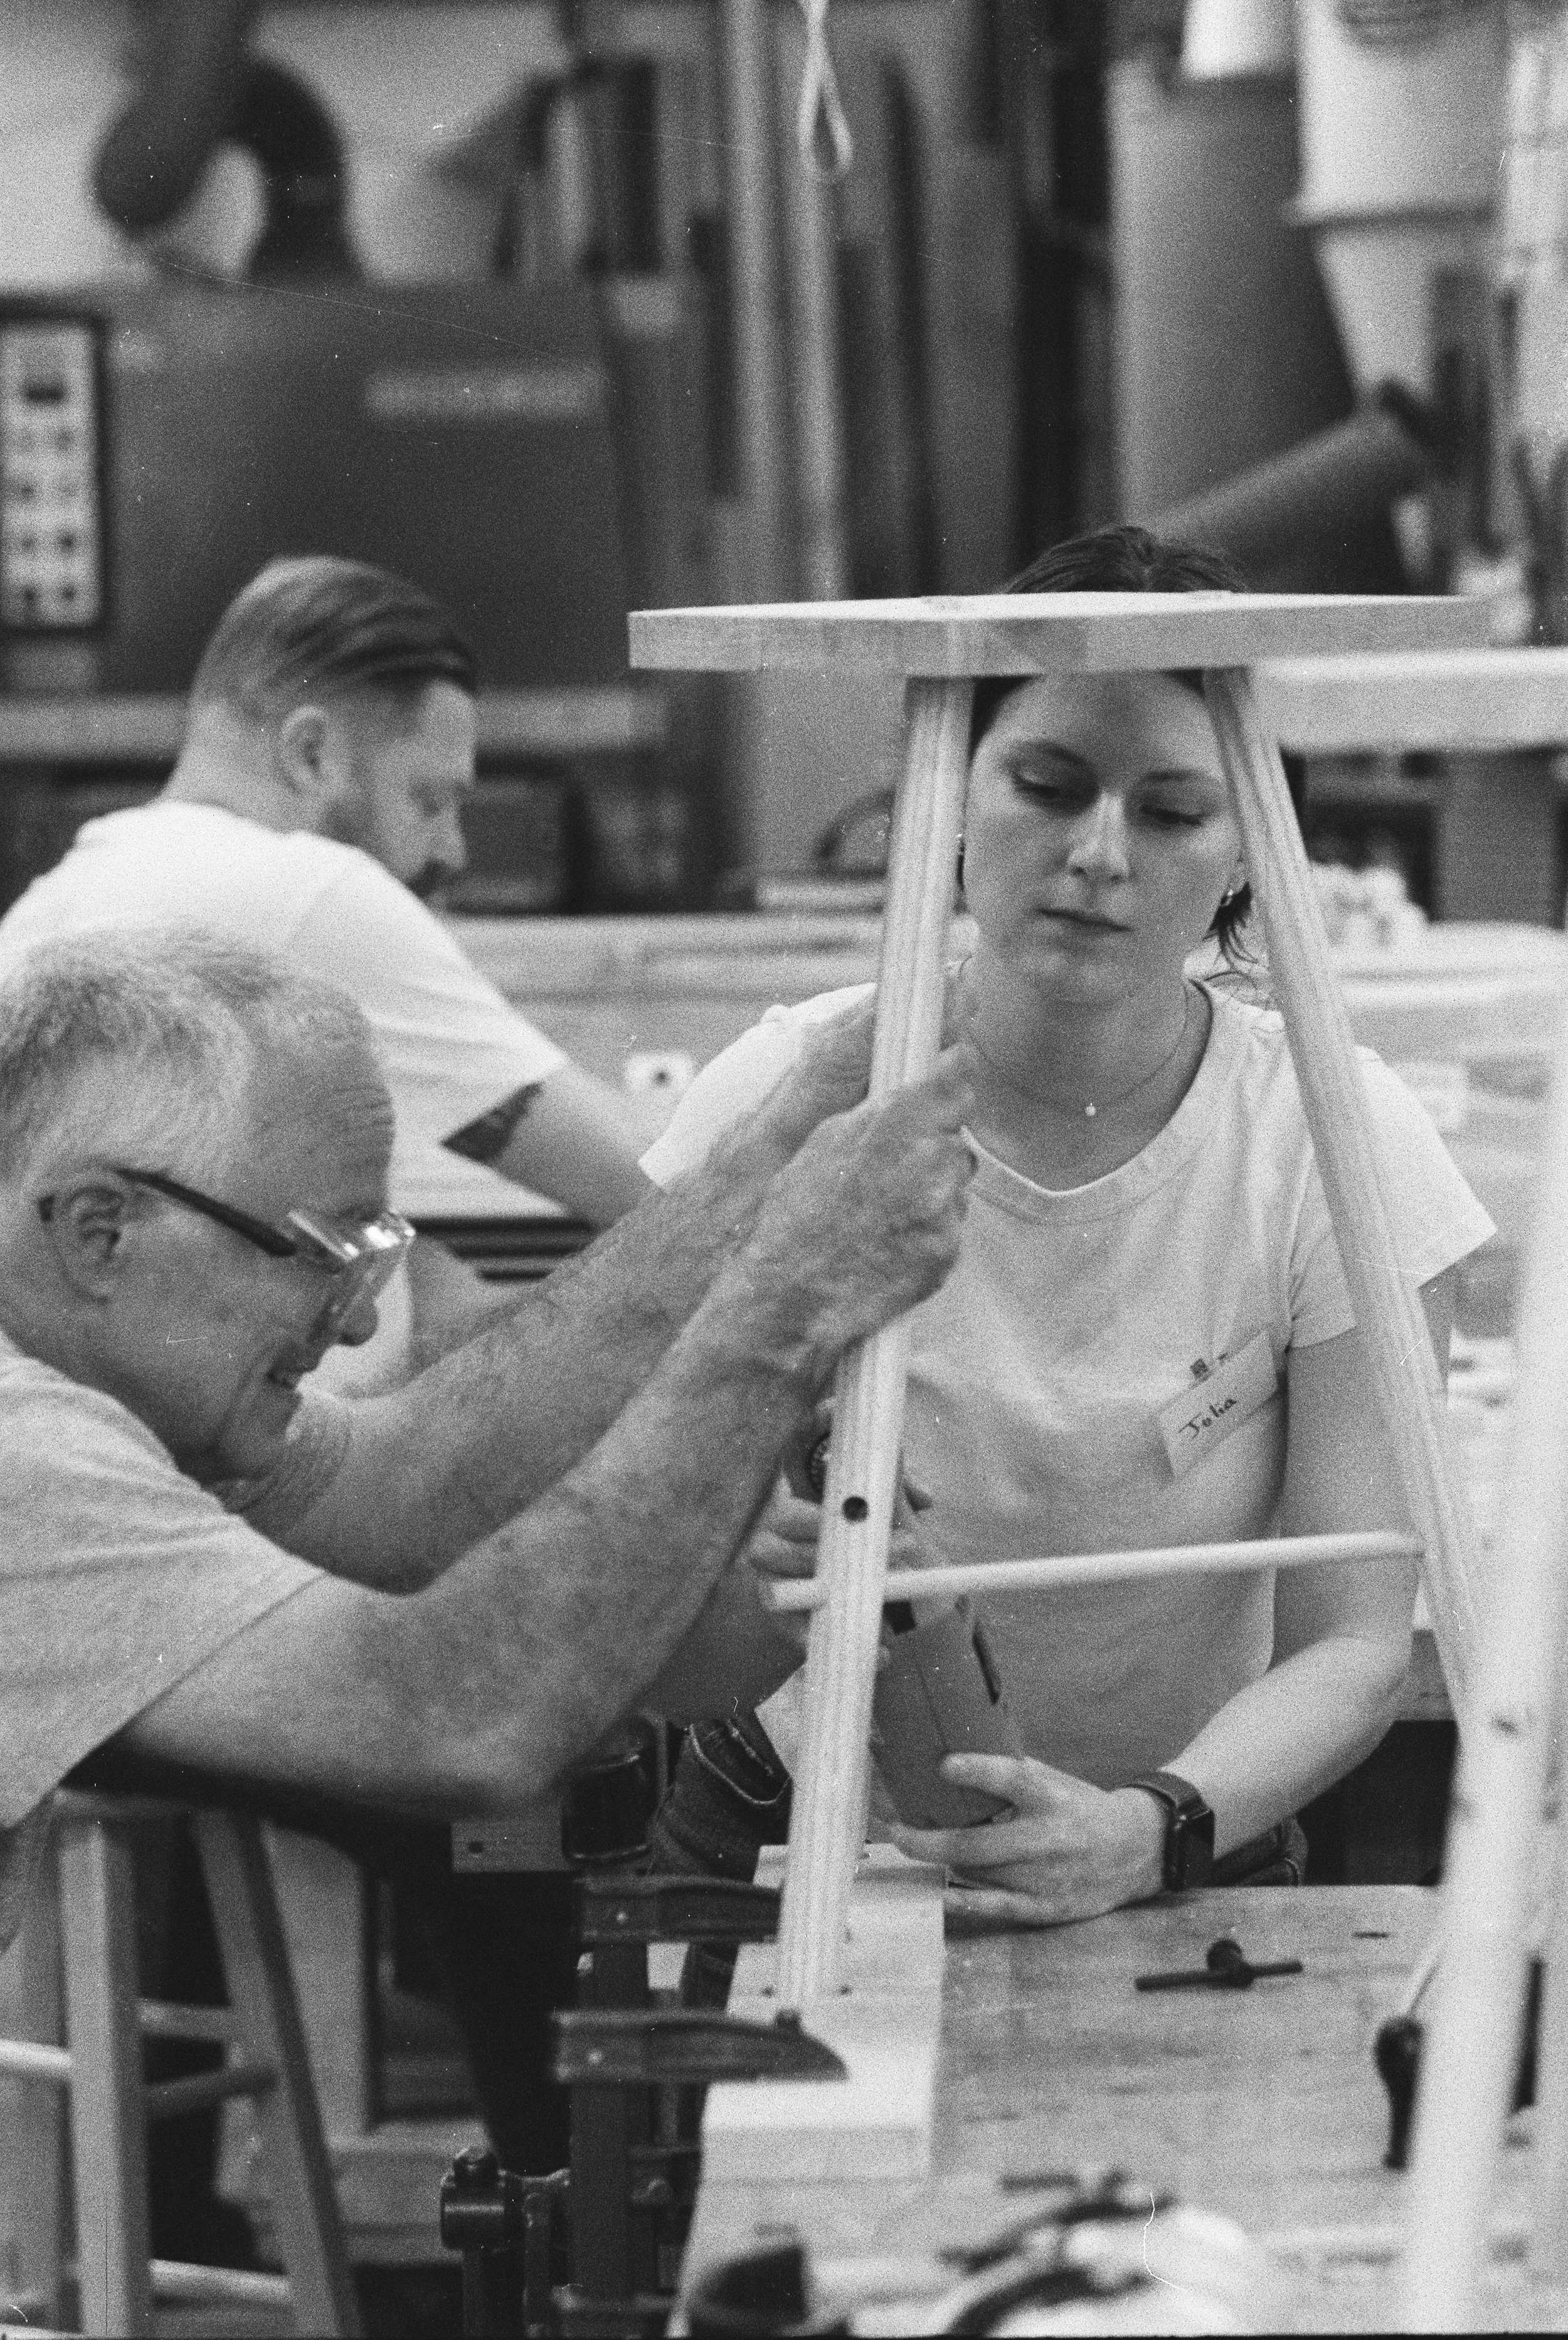
Explore the essential fundamentals of working with hand tools while creating a beautiful 3-leg stool with a free-form seat. The stool, echoing the fluid style of Wharton Esherick’s famous design, is a satisfying project that covers several fundamental handtool techniques that will be discussed in detail. The splayed legs and hand-shaped seat create a light, strong, and comfortable stool.
In the past, PFW has offered this project class as a woodturning class. We’re now offering the class as a hand tool project instead. Students will use simple workbench jigs for holding the legs and rungs while shaping and sizing using cutting tools, such as spokeshaves and hand planes. The legs and rungs will be hand-planed round or nearly round with subtle facets; this is a challenging but achievable alternative to the lathe. The free-form seat will be shaped by hand with travishers and spokeshaves.
While this is a hand-tool-focused class, they will not be used exclusively. We’ll use the bandsaw to cut the seat, tenon cutters and cordless drills to cut the tenons, and the drill press for the mortises.
Cost includes all materials. The stool measures approximately 24” tall, but it can be made shorter as well.
Featured Project by Craig Stevens in Fine Woodworking Magazine issue 295
Instructor - Craig Stevens
To be scheduled again
Capture the clean lines and simple beauty of Japanese woodworking by making a traditional Andon or Japanese lamp (pronounced ahn-dōhn). While the original, oil-lit style is no longer commonly used, modern andon designs with electric fixtures are plentiful and offer a wide range of design possibilities and levels of complexity for woodworkers.
The construction of the andon frame is very straightforward in appearance, yet its many small mortise & tenon joints, shallow rabbets, and thin Kumiko patterns (lattice-work) present a wonderful challenge. Working towards a level of high workmanship on small projects such as this can dramatically improve a craftsperson's skills.
Through one on one guidance, participants learn wood selection, joinery layout, mortise and tenon techniques, assembly of the lamp including the electric fixture, and the traditional application of washi (Japanese paper). Each student's andon can sit on the floor as a low lamp or be used on a tabletop.
This lamp project provides a nice starting point for lighting designs that students may want to make in the future. Along with providing an introduction to Japanese woodworking, this class is an opportunity to make Kumiko, the intricate grid-work patterns used in traditional shoji screens and doors.
The last portion of this course will focus on making a very simple Kumiko grid pattern in the traditional manner. A photo of this grid is on this page. Students can later fill in portions of the grid with any one of a wide range of Kumiko patterns as shown here.
The cost includes all materials. Students provide their own lunch.
Instructor - Craig Stevens
To be scheduled again
PFW’s Appalachian Post & Rung Chair workshop is an excellent introduction to chairmaking and the techniques related to traditional mortise and tenon chair joinery.
In this 10 evening workshop, each student will make their own post and rung ladder back chair inspired by the work of Jennie Alexander and Drew Langsner. Students begin with roughed-out rungs, posts, and back-slats, and work through the steps required to make a beautiful, comfortable chair. Our class differs from Alexander’s chair by using air-dried wood cut to size on the bandsaw instead of green wood that has been riven (split).
The beauty of this chair - besides its good-looking design - is that it can be made in the simplest of settings with very few woodworking tools. This is a challenging project that is best suited to students that have woodworking experience. If you’re unsure if this class is for you, please contact us and let us help. The skills gained in this workshop can easily be applied to future chair-making projects. Also, consider making your own Shave Horse in our weekend class a few weeks prior to this chair class. Students taking this Appalachian Post & Rung Chair class may use PFW’s shave horses or BYOSH (bring their own).
Techniques covered in the project:
- using a drawknife and spokeshave at a shave horse
- steam bending back posts & back slats
- joinery layout
- applying the time-proven principles of wet/dry mortise and tenon joinery.
- chair glue-up sequence
- applying an oil finish
- weaving a shaker tape seat
This post and rung chair can be made with very few basic woodworking tools at a workbench or a traditional shave horse. Also, it’s recommended (but not required) participants bring their own hand tools for the project. In particular, it’s particularly helpful to own a drawknife and spokeshave, as they are the most-used tools and would allow students to do work at home in between classes, which many students found helped them finish the project on time.
Students may choose the shaker tape color for their chairs, which is included in the class fee. Class size is limited to 8 students.
Click here for recommended Tool List
Instructor - Craig Stevens
To be scheduled again (1 weekend)
The Krenov-style sawhorses class is an excellent project for students wanting to build a very useful pair of sawhorses while learning the fundamentals of furniture making with traditional joinery. We’ll discuss the design and construction of the saw horses and explain how that makes them so strong and versatile. For typical shop usage, these sawhorses can last decades.
We’ll build the sawhorses with basic mortise and tenon, wedged through mortise and tenon, and half-lap joinery. The bulk of the joinery will be made with machines, and the final fit will be dialed in with hand tools. The techniques learned in class can be transferred to building many other furniture pieces.
These sawhorses differ from the more typical splayed leg sawhorses in that they’re more upright allowing you to work at a more comfortable height, able to nest for easy storage and supporting short boards, and the lower stretcher can be used for holding a significant amount of lumber. They can even be used as a temporary work surface or drafting table when laying a piece of plywood on top of them.
At PFW, we have 4 pairs that are used regularly, and we’d feel lost without them. We often load them up full with lumber when milling for large classes. Rarely a day goes by where we’re not using at least one pair.
Students will build a pair of sawhorses made of ash, oak, or similar hardwood.
Cost includes all materials. Students provide their own lunch.
Instructor - Larissa Huff
to be scheduled again
Come join us at PFW with guest instructor Larissa Huff!
Create your own Spiral Sprout Box! This octagonal, lidded box is topped with a bundle of bentwood spirals and covers a range of techniques. During the class, we will cover box design and function, mitered joinery with some light geometry (it’s fun, I promise), and making a captured panel bottom and split lid. We will explore wood bending using a hot pipe, create tiny wedged tenons, and fine-tune the fit of the box components with hand tools. This small project is packed with an array of techniques and fun details to make it your own!
The boxes range from 3.5” to 5.5” tall not counting the height of the spirals.
It is preferred you have some experience with the table saw before taking this class.
About the instructor:
Larissa Huff is a furniture-maker, woodworker, and instructor based out of Philadelphia. When she is not designing and building furniture in her own workshop, she’s on the road teaching at shops and craft schools around the country. In recent years, she has completed a residency at Arrowmont School for Arts & Crafts and a fellowship at the Center for Furniture Craftsmanship. Her days outside of the shop are surrounded by artful woodworking as part of the team at the Wharton Esherick Museum.
Instructor - Craig Vandall Stevens
To be scheduled again
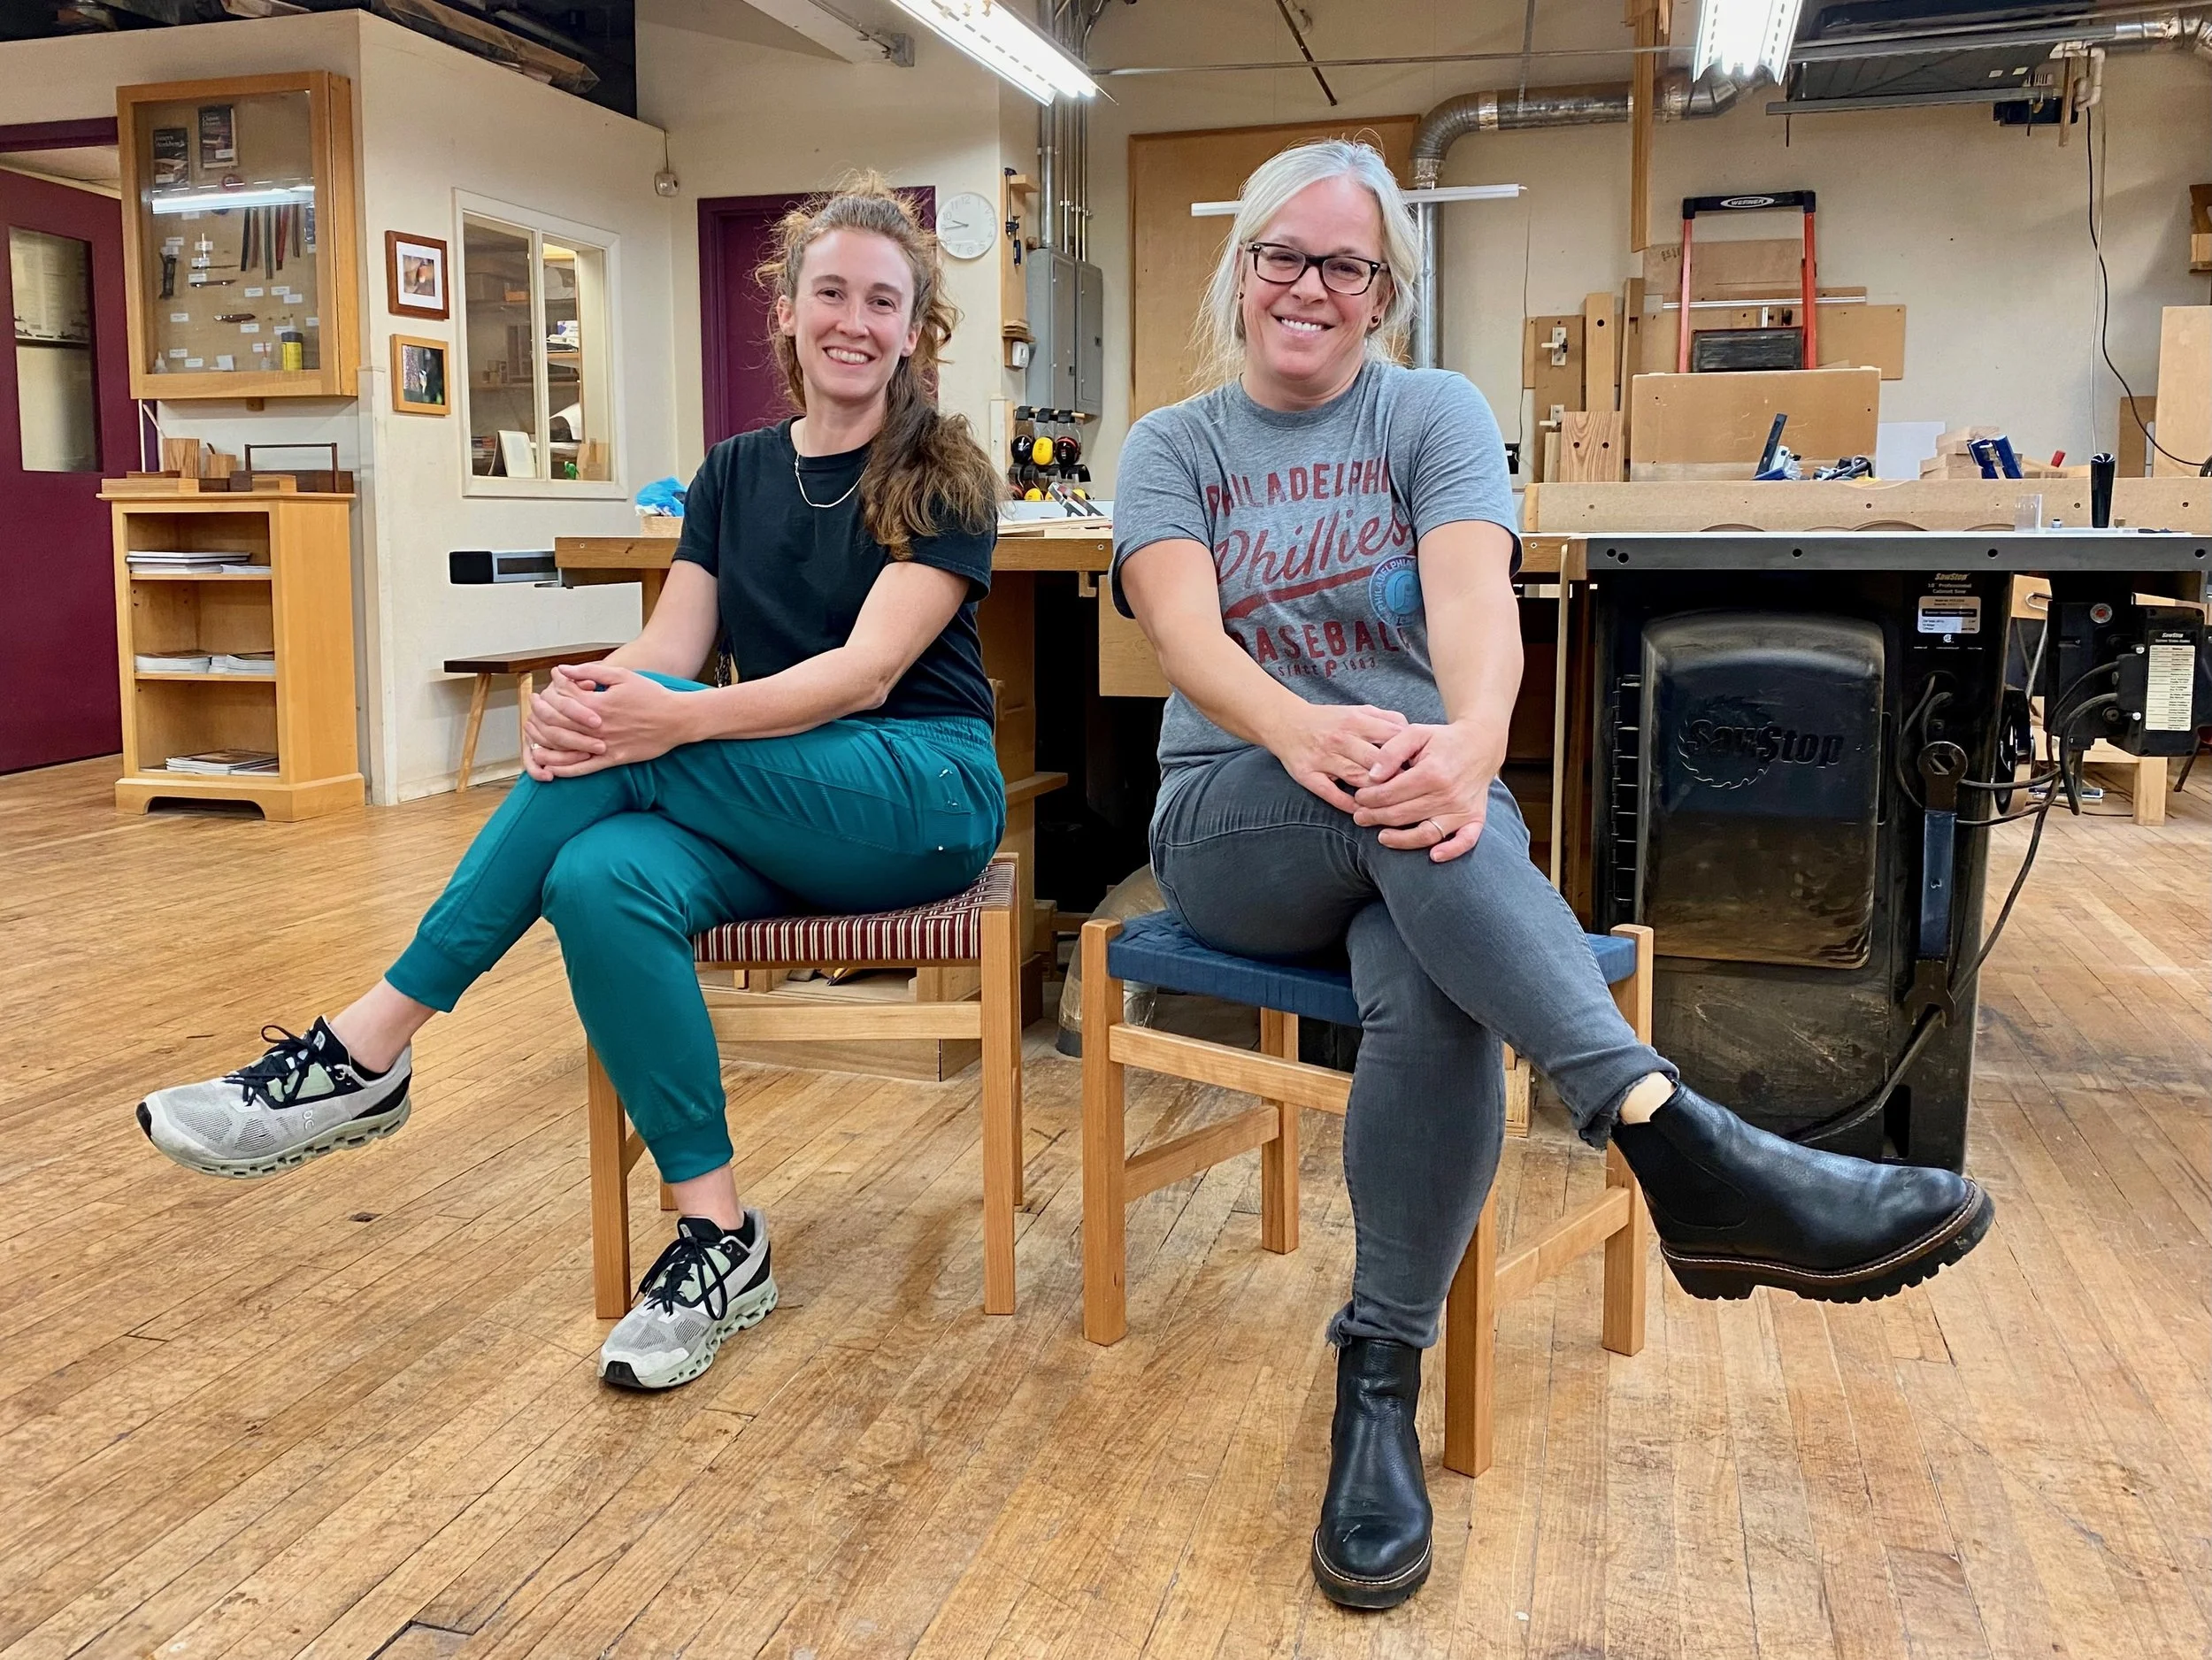
The Danish Cord Bench idea started with a desire to design a project that takes advantage of the wonderful texture of “laced Danish cord.” The strong, versatile cord has been used in some of the most visually wonderful chairs designed by many of the talented Danish chair designers in the 1950s.
Students will hone their joinery and layout skills while creating a beautiful bench for two. We think the bench looks great in a variety of wood species, and we’ll choose cherry, ash, red oak, sapele, or a similar quality hardwood for the project as the class gets closer.
The project uses traditional mortise and tenon joinery to create a very strong bench. With the joinery completed and the bench assembled, students will weave the seat, creating a strong surface with a wonderful texture that compliments the bench. Combined with the comfort and visual appeal of the woven seat, the bench is a terrific woodworking project as well as an attractive piece for the home.
Students will need to apply an oil finish at home in between classes once the bench is glued together in order for the seat to be woven in class.
This is one of our more challenging project classes, and it would be beneficial if you’ve previously taken a class at PFW that involves traditional mortise and tenon joinery. Please feel free to ask us to help determine if the class is a good fit for you.
The bench measures 43” long x 18.5” deep x 22.5” arm height.
Cost includes all materials. Students provide their own lunch.
Click here for the Tool List.
Instructor - Craig Stevens
to be scheduled again
The shave horse or shaving horse is a traditional workbench that is particularly suited to green woodworking and shaping woodworking parts. It’s designed primarily for drawknife and spokeshave work and is ideal for creating round parts like chair legs, rungs, and spindles as well as spoon and utensil carving, walking sticks, paddles, and many other projects.
Essentially a foot-activated clamping bench, pressure on a workpiece is applied by pushing the treadle’s foot bar. The workpiece is easily repositioned again and again by simply releasing pressure with your foot. It’s a very efficient and intuitive method of holding and releasing a chair spindle, for example, that needs to be repositioned often so that all surfaces can be worked. The shave horse is ideal for projects like our upcoming Appalachian Post & Rung Chair workshop.
Students make their own shave horse in this 2-day workshop and have an opportunity to practice using a drawknife and spokeshaves.
The design of our shave horse seen in the photos comes from personal experience and various historical and contemporary examples. The design will change slightly from the photos of the shop’s prototype. For example, now that the prototype has been in use for a while, the overall length could be a little shorter, making it easier to use in a small space and to store.
Green woodworking is a form of craft that uses unseasoned (green) wood. Unseasoned describes wood that has been recently felled and still has a high moisture content. This greenwood is generally much easier to shape and work with hand tools than seasoned or dried wood. Several hardwood species of green wood and slightly drier air-dried wood also steam bend very well, allowing for making a wide range of projects.
PFW is looking forward to offering more green woodworking classes in upcoming seasons and a shave horse is one of the important tools for many types of green woodworking. Part of our motivation for creating a series of classes centered around the shave horse and green woodworking is that few tools and little space are required to enjoy woodworking and making things with your hands. Many types of woodworking need machines, dust collection, and a lot of space. This isn’t always practical for many people. Green woodworking can be completely unplugged, quiet, and very satisfying and can take place outdoors on a porch, balcony, backyard, garage, or tucked away in the corner of a woodshop.
Participants of all skill levels are welcome. Instruction will be given on the various uses of a shave horse such as shaping traditional chair parts, spoon carving, etc.
Here is a link to a short video showing the shave horse in use. The link leaves our site and goes to YouTube (the dates seen in the video are from our 2023 class).
Click here for the recommended Tool List
Instructor - Craig Stevens
to be scheduled again
If you want to really dial-in your dovetail joinery at PFW, this is the class for you.
In this 6-evening workshop, students build a beautiful step stool with hand-cut, through-dovetail joinery. The dovetail joint is a satisfying, traditional woodworking joint that requires practice and care and can greatly improve hand skills. Through weekly demonstrations and hands-on work, participants will learn and practice the classic technique while making their own small step stool.
Students will:
learn the step-by-step process of accurate, hand-cut dovetail joinery and traditional woodworking skills
learn the proper and safe use of chisels, hand saws, and layout tools for joinery
make a hardwood step stool measuring approximately 10” tall
Ideally, this class is intended for students with some woodworking experience. Dovetail joinery can be a challenging technique that requires patience and accuracy.
Cost includes all materials.
Instructor - Craig Stevens
Feature Article in Fine Woodworking Magazine, June 2026, issue 323, written by Craig Stevens
September 17 - November 5, 2026 6pm - 9pm (8 Thursday evenings)
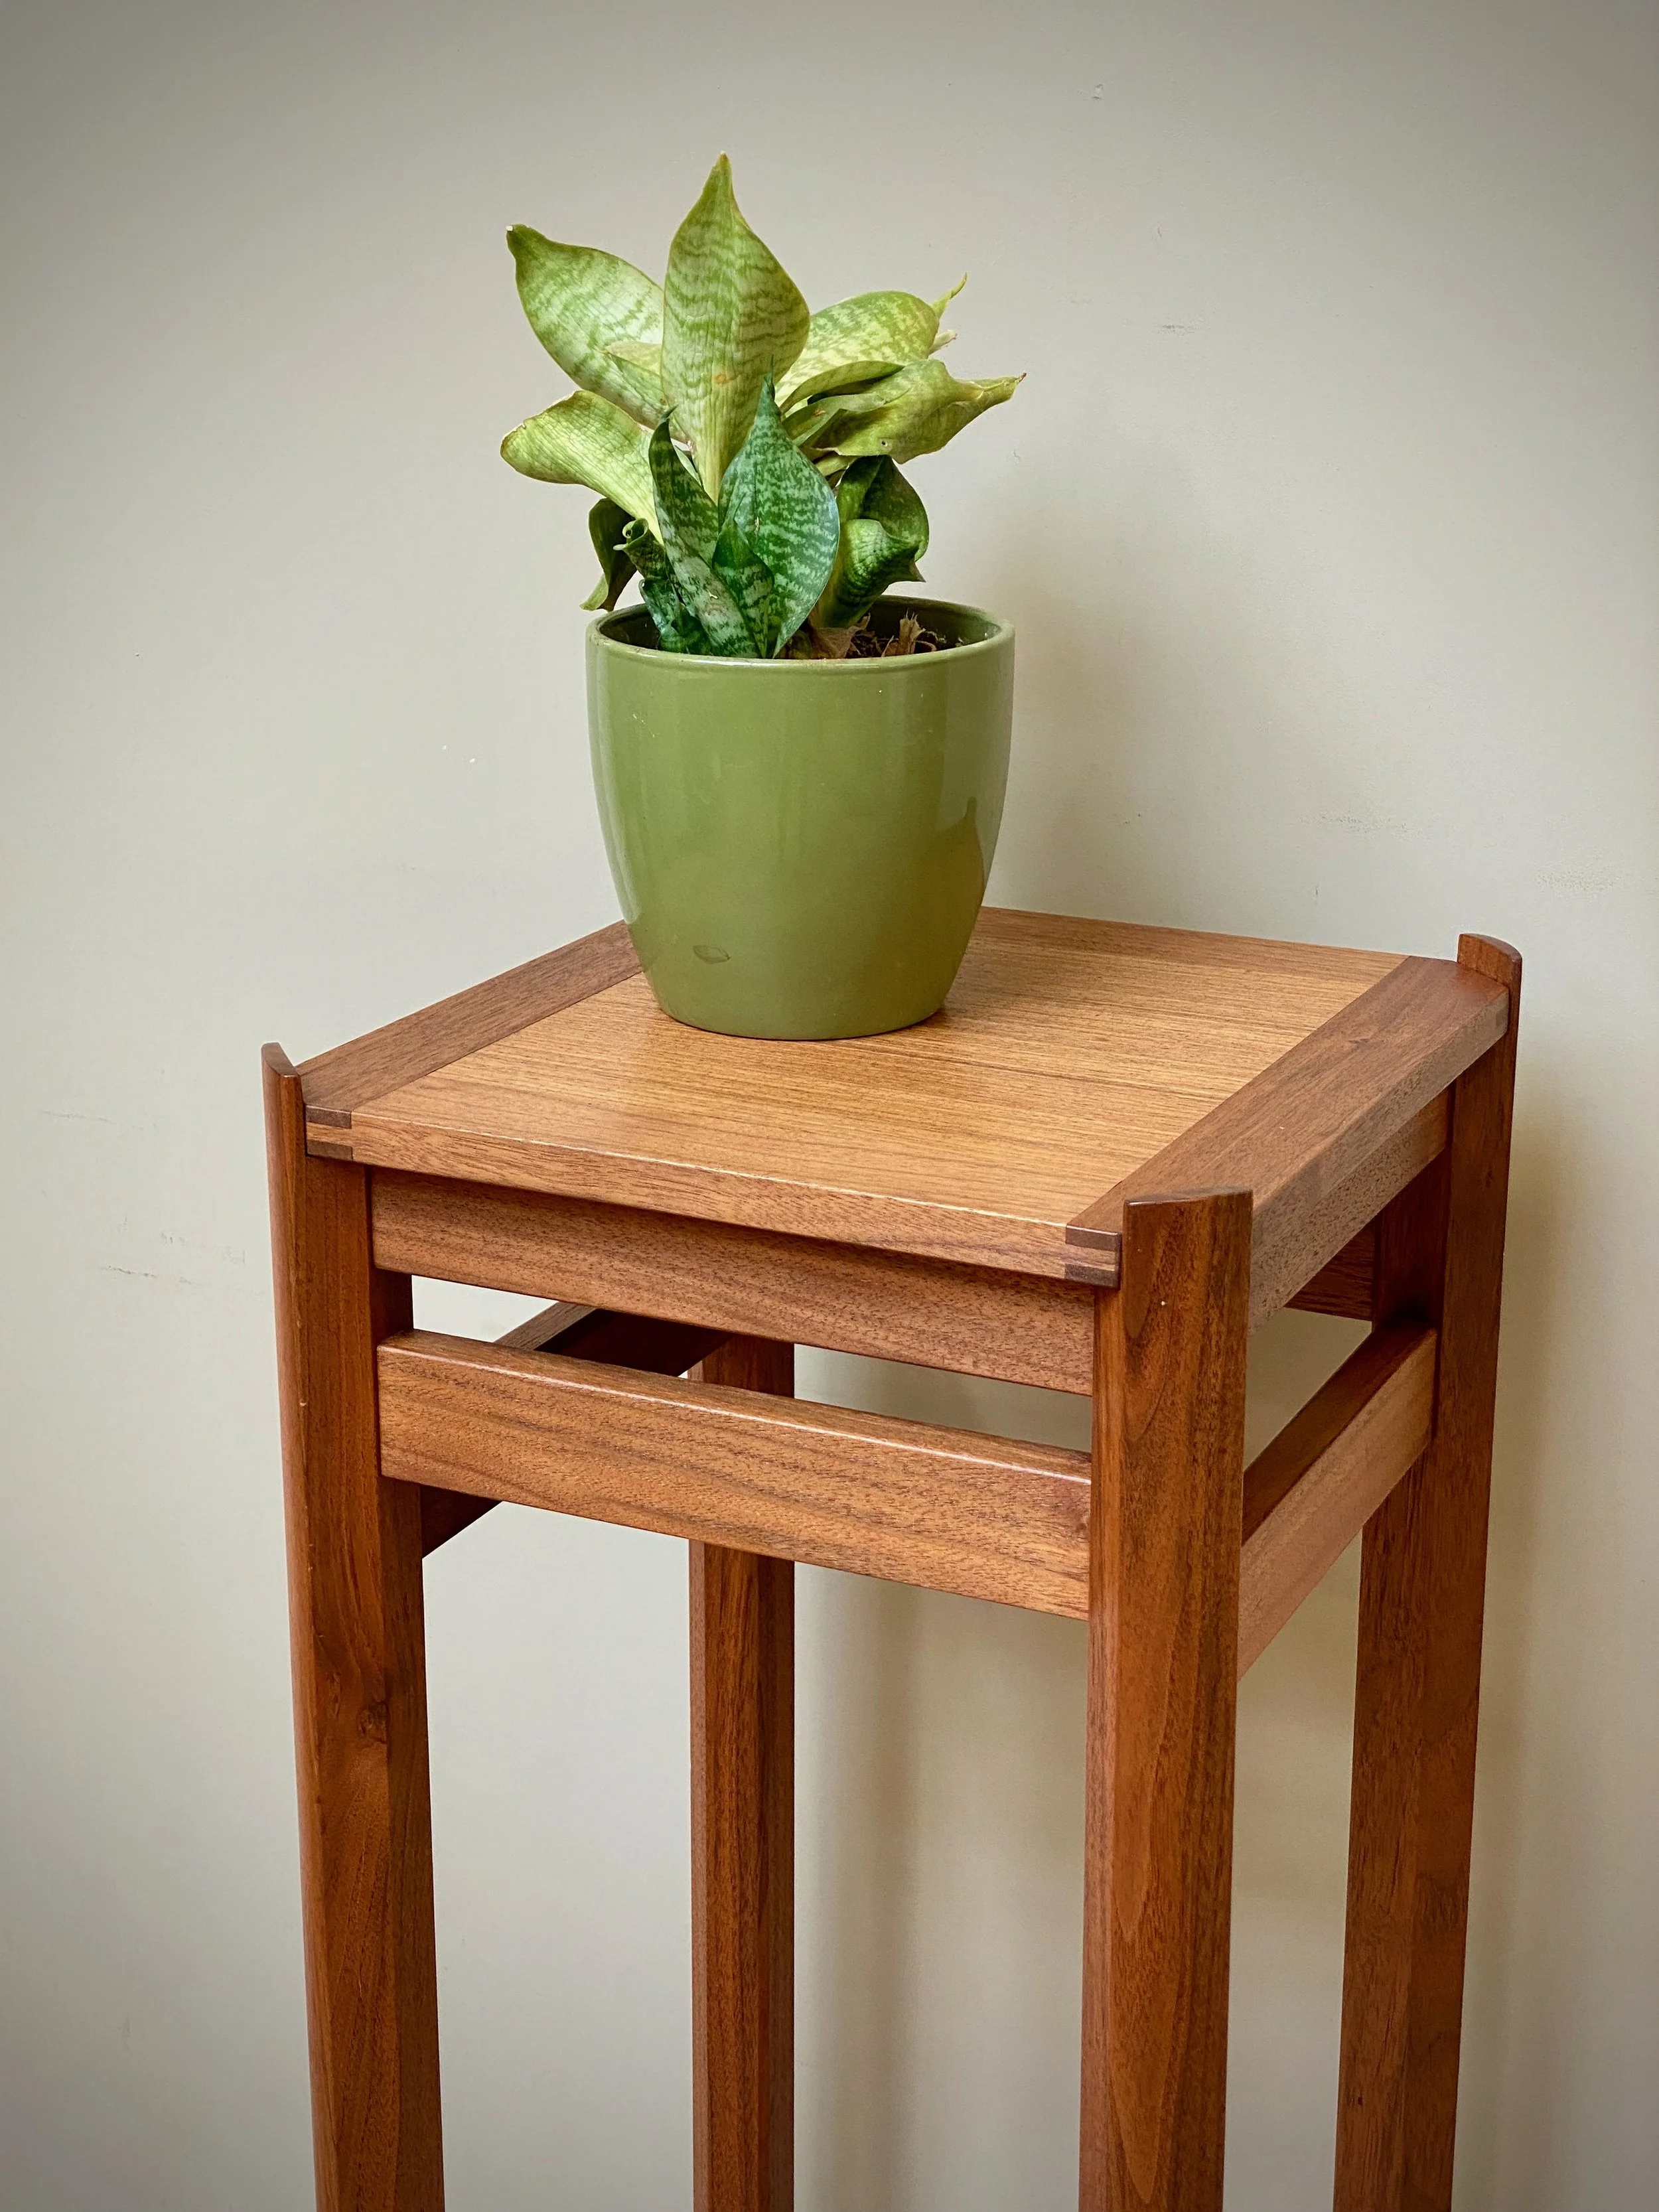
An excellent intermediate course, our Plant Stand project offers the satisfaction of creating a beautiful and functional piece of hand-made furniture while expanding participants’ woodworking skills. The stand can be used to display an art piece, lamp, or favorite succulent.
Students will learn and apply traditional woodworking techniques including:
accurate joinery layout
traditional mortise & tenon joinery to join the legs and rails, focusing on step-by-step processes that result in properly fitting joints
working with veneers and making a veneered top panel using a vacuum press
creating a bridle-joint frame that captures the veneered top
glue-up techniques
applying an oil finish
unique to the table is a 5-sided leg design with a pillowed outer face, created with hand planes
Combining the careful consideration of wood grain to create a harmonious design, and the development of good work practices, this intermediate course offers students a terrific opportunity to refine their woodworking skills.
The wood for this project will be black walnut, a beautiful hardwood that is a delight to work with, along with a complimenting species for the veneered top panel.
The cost includes all materials.